工具
- rclone : https://rclone.org/downloads/
- winfsp : http://www.secfs.net/winfsp/download/
其中rclone的windows版需要解压,并添加解压目录到系统路径中。(额,不添加,然后使用时写完整路径也行23333)。而依赖库winfsp下载完后一路Next直接安装就可以了。
补充图形化管理工具
- mmozeiko/RcloneBrowser: https://github.com/mmozeiko/RcloneBrowser 一款跨平台的Rclone GUI,鉴于此Repo已经很久没有更新。请考虑使用该fork: https://github.com/kapitainsky/RcloneBrowser/releases
添加Google团队云盘
确认rclone已经添加到系统路径中后可以使用rclone config进入配置项。
具体的配置设置可参见下面他人写的帮助或者直接搜索就行,挺简单的所以本处不再累述(实际情况是没有对中间过程做保存),注意在提示“Configure this as a team drive?”时,输入Y,并填入需要使用的团队云盘。
- Linux下的Rclone简单教程(支持VPS数据同步,多种网盘,支持挂载) |:https://ymgblog.com/2018/03/09/296/
- 官方文档: https://rclone.org/drive/#team-drives
挂载 Mount
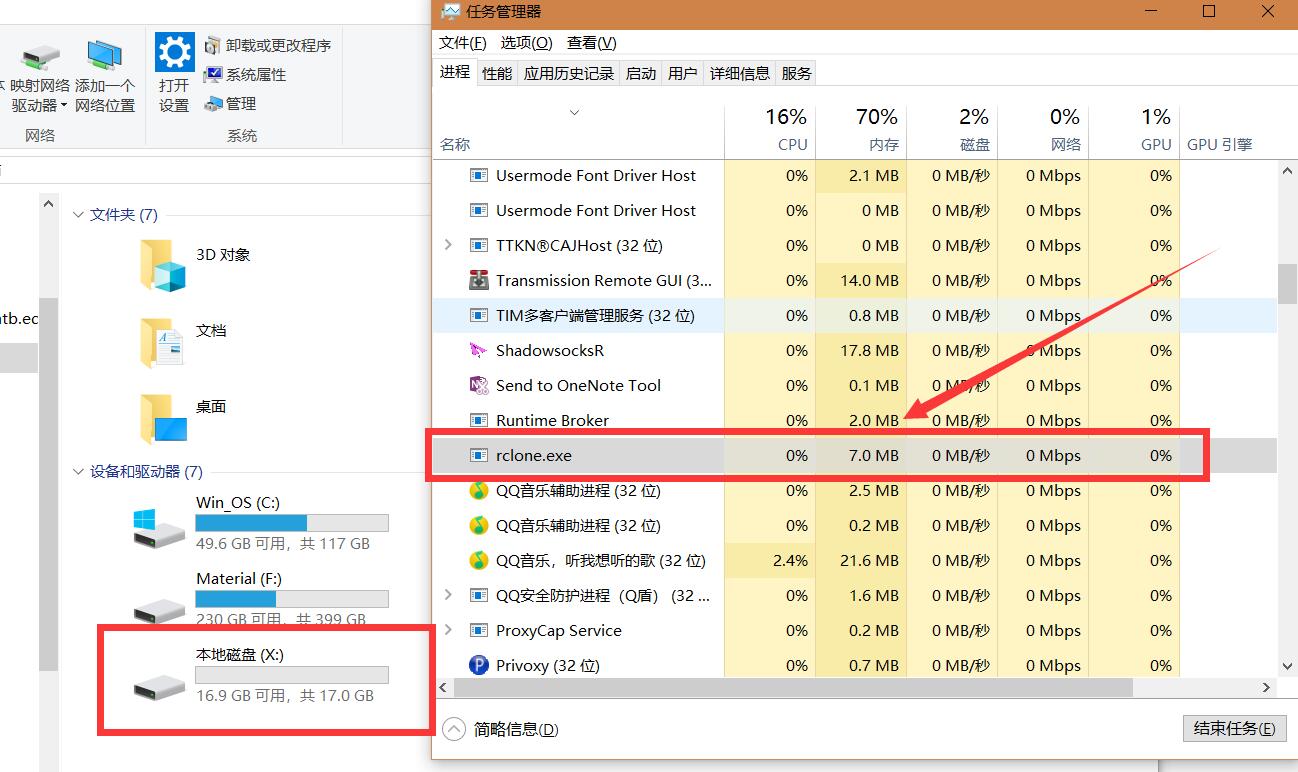
我这里假设我前面添加的名称为GDrive,想要挂载在本机的X:上,并设置缓存目录为F:\Temp(cache路径中请不要带有空格,默认缓存目录为C盘用户目录下, C:\Users\<Your user name>\AppData\Local\rclone)。那么运行以下命令执行挂载(整个GDrive根目录)操作,然后你就会看到一个可爱的X盘出现了~
rclone mount GDrive:/ x: --cache-dir F:\Temp --vfs-cache-mode writes关于vfs-cache-mode项设置,还是建议看下官方的说明根据自己的需求和网络情况来进行选择 https://rclone.org/commands/rclone_mount/#file-caching 。这里只做简单说明:
off: In this mode the cache will read directly from the remote and write directly to the remote without caching anything on disk. (本地不做任何缓存,所有文件直接从云端获取并写入。建议网速特别好时(复制粘贴大文件时建议至少100M管以上速度)使用。minimal: This is very similar to “off” except that files opened for read AND write will be buffered to disks. This means that files opened for write will be a lot more compatible, but uses the minimal disk space. (和off类似,但是已经打开的文件会被缓存到本地。个人推荐,小文件基本够用,但是如果你的网络情况(梯子)不是特别好的话,用writes也行writes: In this mode files opened for read only are still read directly from the remote, write only and read/write files are buffered to disk first. (如果文件属性为只读则只从云端获取,不然先缓存在本地进行读写操作,随后被同步。个人推荐使用,但是在直接从本地复制文件到GDrive时还是看网络情况full:In this mode all reads and writes are buffered to and from disk. When a file is opened for read it will be downloaded in its entirety first. (所有的读写操作都会缓存到磁盘中。然后才会同步。不是很推荐。会导致所有文件均被缓存到本地。直到达到你缓存总额(–cache-total-chunk-size,默认大小10G)。但是你网速特别差时也可以使用。
后端运行以及开机自动挂载
上面的挂载操作在退出cmd后就自动结束了,所以我们需要让它后台运行。
rclone虽然提供了--daemon参数来实行后台运行,但是该参数并不适合于windows环境中。会有如下提示:
λ rclone mount GDrive:/ x: --cache-dir F:\Temp --vfs-cache-mode writes --daemon
2018/05/01 09:54:19 background mode not supported on windows platform
所以,我们需要另外想个办法让rclone能够后端运行以及开机自动挂载。
在你之前解压的rclone目录下新建一个文本文件,填入以下内容,请注意修改倒数第二行的WS.Run中相关命令为你上步成功执行的命令,然后将该文件名改为rclone.vbs (后缀名为.vbs即可)
Option Explicit
Dim WMIService, Process, Processes, Flag, WS
Set WMIService = GetObject("winmgmts:{impersonationlevel=impersonate}!\\.\root\cimv2")
Set Processes = WMIService.ExecQuery("select * from win32_process")
Flag = true
for each Process in Processes
    if strcomp(Process.name, "rclone.exe") = 0 then
        Flag = false
        exit for
    end if
next
Set WMIService = nothing
if Flag then
    Set WS = Wscript.CreateObject("Wscript.Shell")
    WS.Run "rclone mount  j1_alist:/ Z: --cache-dir D:\logs_rcloneCache --vfs-cache-mode writes", 0
end if
完成后双击运行,你会看到X盘挂载成功。
补充说明下,如果你看到显示的挂载空间其实是个人空间大小,请参阅此issue: The amount of disk space incorrent when mount Team Drives (gdrive) in Windows 10 · Issue #2288 · ncw/rclone 下载最新的rclone并安装。但超大文件仍建议使用
rclone copy或者rclone sync进行复制或者同步操作,而不是直接使用挂载盘,以免卡挂载盘。

如果你需要中断这个挂载操作,请直接在任务管理器中kill掉rclone.exe进程即可。
然后将这个文件复制(或者剪贴)到开机项中C:\ProgramData\Microsoft\Windows\Start Menu\Programs\StartUp(Windows 10)即可实现开机自动挂载~
上传速度相关
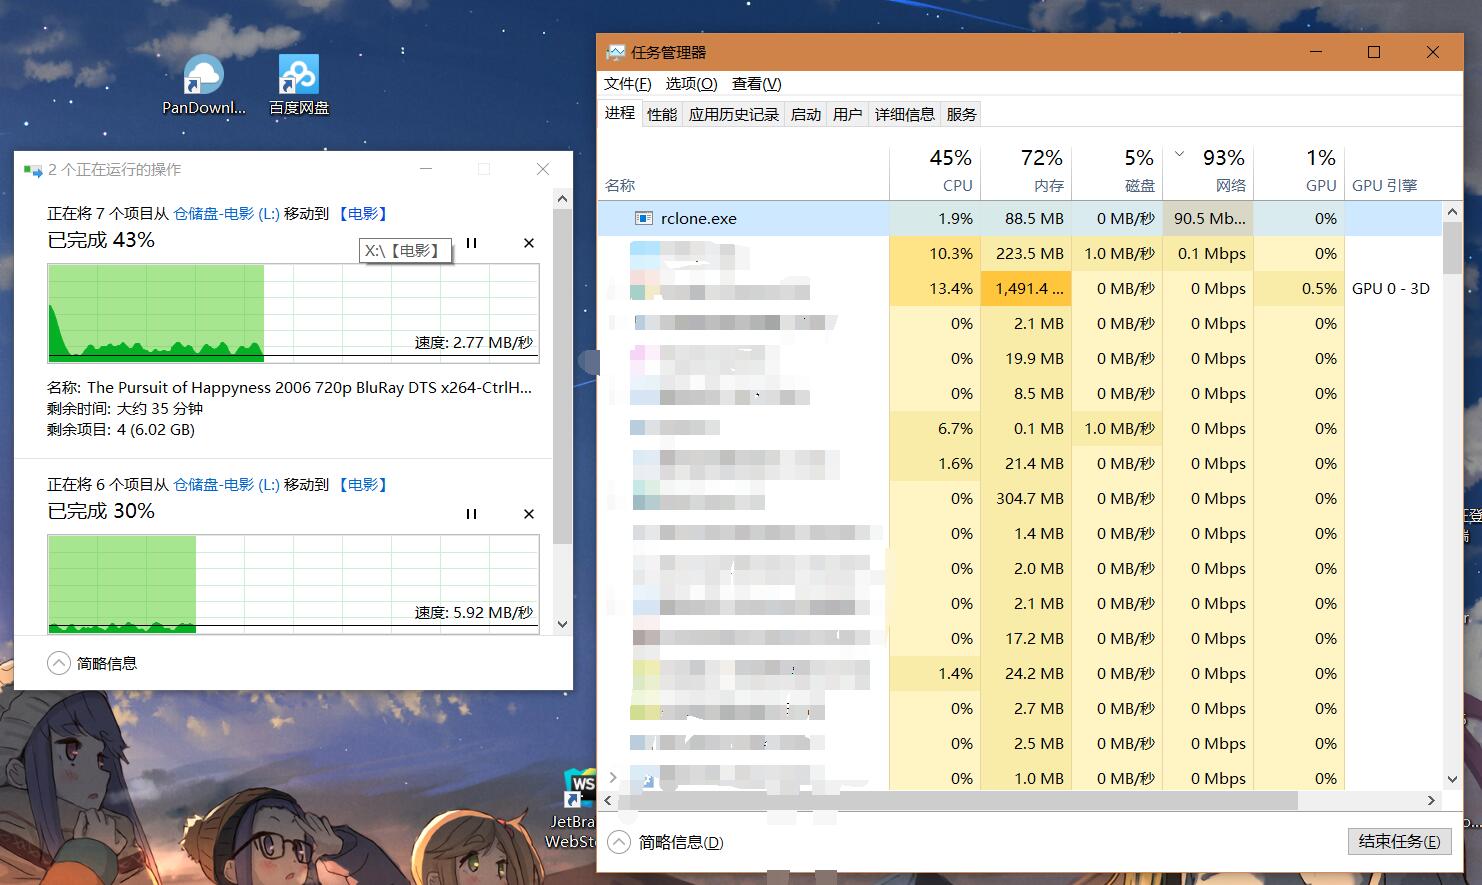
rclone直接连通www.goolgeapis.com进行文件的上传与下载操作。能直接走IPv6流量,在教育网100M环境下,能做到满速上传。其他环境网速视你的网络情况决定。


